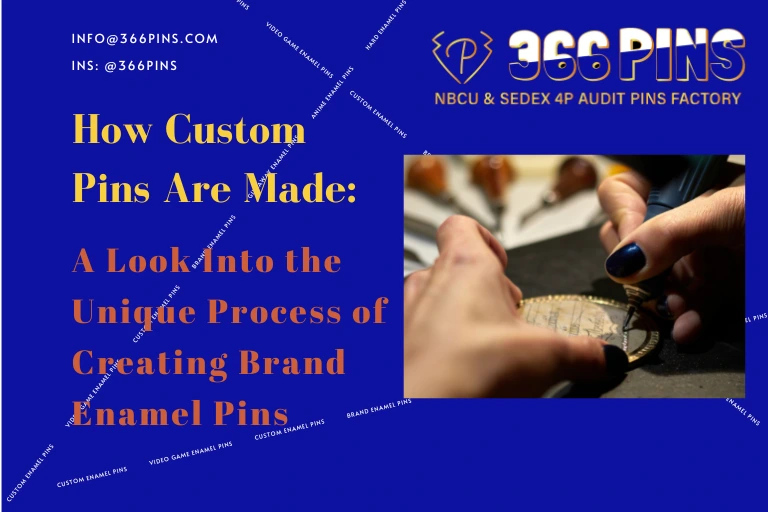
At our enamel pins company, we are often asked about our process for creating pins. People are curious about how we are able to create such unique and high-quality pins. So, we thought we would take this opportunity to give our readers a behind-the-scenes look at how our pins are made. From start to finish, each pin goes through a rigorous and meticulous process to ensure that it meets our high standards.
Make Pin Design
The first step in the process is designing the pins. Our team of skilled designers works closely with our clients to come up with a design that fits their brand.
Mold
The final design is carefully considered and then transferred to a mold, which creates an impression on metal that will be used for stamping or die casting.
Stamp or Die cast
To create the perfect pin, it is important to know both stamping and die casting techniques. Once you have created your mold with raw material in mind-stamping or die casting will make sure that each single pieces of your order will come into same features without any surprises!
Weld pin needles on backside
Pin needles are the perfect accessory for any fashionista. The small steel pin on one end pierces through your fabric, while leaving an impression behind in order to keep things secure and locked into place- no matter where you’re going or what adventure lies ahead!
Polish
A hand-made process to make the pins smooth and glossy. It is a time consuming and laborious process that requires patience to complete. Each pin that shines in the sunlight is carefully sanded and polished by our professional workers.
Electric-plating
Electroplating is a quick and easy way to change the color of your pins. You can get them in gold, silver or even copper! Plating is a useful method to protect enamel pins from oxidation.
The process only takes minutes so it’s never been easier than now before with all these new applications for this ancient technique that has been around since forever ago when people first started decorating their clothes by wearing gems on chains around necks etc…
Fill enamels
Create the enamel fill. This is arguably the most important step in the process because it determines the color and overall appearance of the pin. Our team carefully selects the colors that will be used in each design. Once the colors are selected, they are mixed together and heated until they reach the perfect consistency.
After the enamel fill is complete, it is time to apply it to the metal base of the pin. The metal base is placed into a machine that heats it up until the enamel can be applied. Once the enamel has been applied, it is allowed to cool and harden.
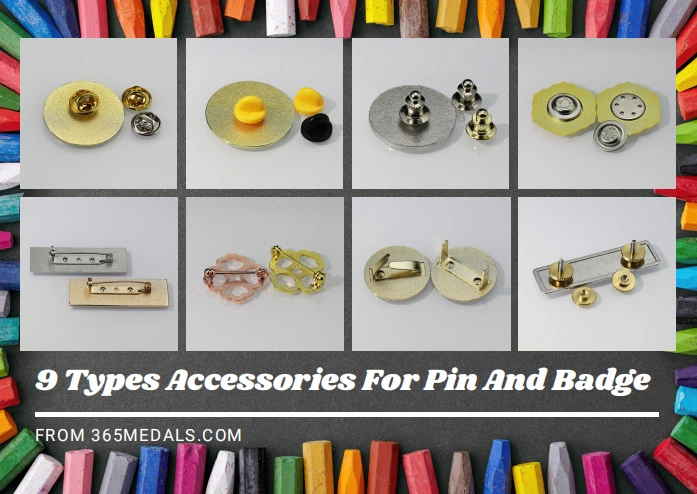
Attach a backing accessory
The final step in creating a pin is attaching the backing. This allows people to wear their pins steadily and not lose them, we offer 9 different types of backings-butterfly clutches rubber backers jewelry clutches magnet etc…
Contact Us To Make Custom Pins
As you can see, there is a lot of care and attention that goes into each and every one of our pins. We take pride in our work and strive to create only the highest quality products for our clients. If you have any further questions about our process or would like to order custom pins for your brand, please don’t hesitate to contact us!